


 VEVOR
VEVOR GoFort
 OutSunny
 ANTARCTICA Gear
Many campers struggle with pitching their tent in fading daylight, unexpected wind, or rain—often leading to a crooked shelter, water seeping inside, or wasted time searching for instructions. Learning the right process ensures your tent goes up quickly, stays secure, and keeps you comfortable in any conditions.
If you’re looking for tent camping setup ideas that work for beginners and experienced campers alike, the following guide covers everything from choosing a campsite to packing your gear away properly.
Preparing for Tent Set Up
Before raising your shelter, a little preparation makes the process faster and prevents common issues. Whether you’re getting ready to build a tent for the first time or want to refresh your skills, preparation saves time and effort.
Choosing the Right Campsite Location
Select a flat, dry, and clear space free from sharp rocks, sticks, and branches. Avoid low ground that collects water during rain. Check overhead for dead branches or leaning trees. Position your tent entrance away from strong winds but with good ventilation.
Essential Tools and Materials (poles, stakes, tarp, rainfly)
A standard tent setup requires:
| Item | Purpose | Pro Tip |
|---|---|---|
| Tent poles | Create the frame and shape of the tent | Connect sections carefully to avoid cracks or splinters. |
| Tent stakes | Anchor tent to the ground for stability | Insert at a 45° angle pointing away from the tent for best hold. |
| Rainfly on tent | Adds weather protection against rain & wind | Always align doors/windows with the tent entrance before tightening. |
| Ground tarp / footprint | Protects tent floor from abrasion and moisture | Keep slightly smaller than tent base to prevent water pooling. |
| Mallet or rock | Helps secure stakes in hard soil | Avoid using boots—can bend or break stakes. |
Practicing Tent Assembly at Home
Set up your tent at home before your first trip. This helps you:
- Identify missing parts.
- Learn how poles connect to grommets and clips.
- Understand the order of assembly using the tent instructions manual.
- Avoid frustration when light or weather conditions are poor.
Key steps to memorize:
- Choose a flat campsite.
- Lay the footprint.
- Spread the tent body.
- Connect the poles.
- Match poles to corner grommets.
- Clip or attach the tent body.
- Add the rainfly on top.
- Stake the tent securely.
How to Pitch a Tent Step by Step
Whether you’re building a small backpacking tent or a larger family model, the process follows the same sequence. Mastering pitching a tent ensures stability and comfort in different environments.
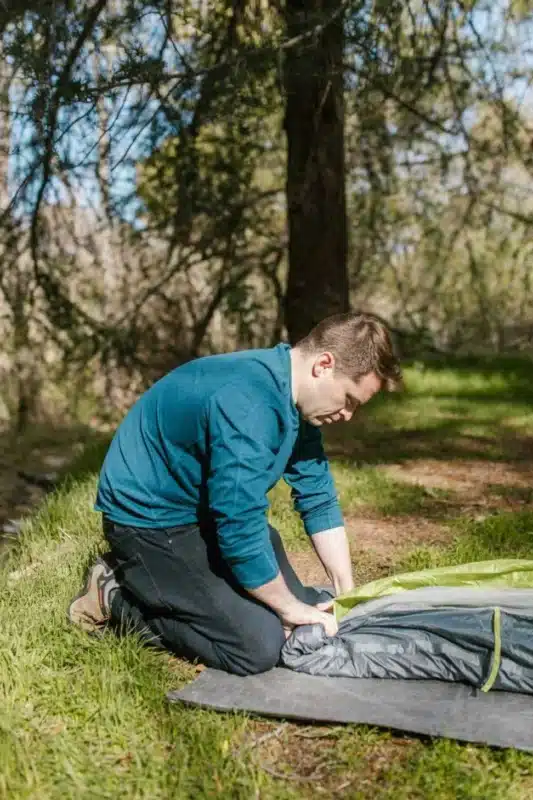
Laying Out the Tent and Ground Tarp
- Place the tarp/footprint directly on the ground, slightly smaller than the tent base to prevent pooling water.
- Unfold the tent body on top, positioning doors and windows to your preferred direction.
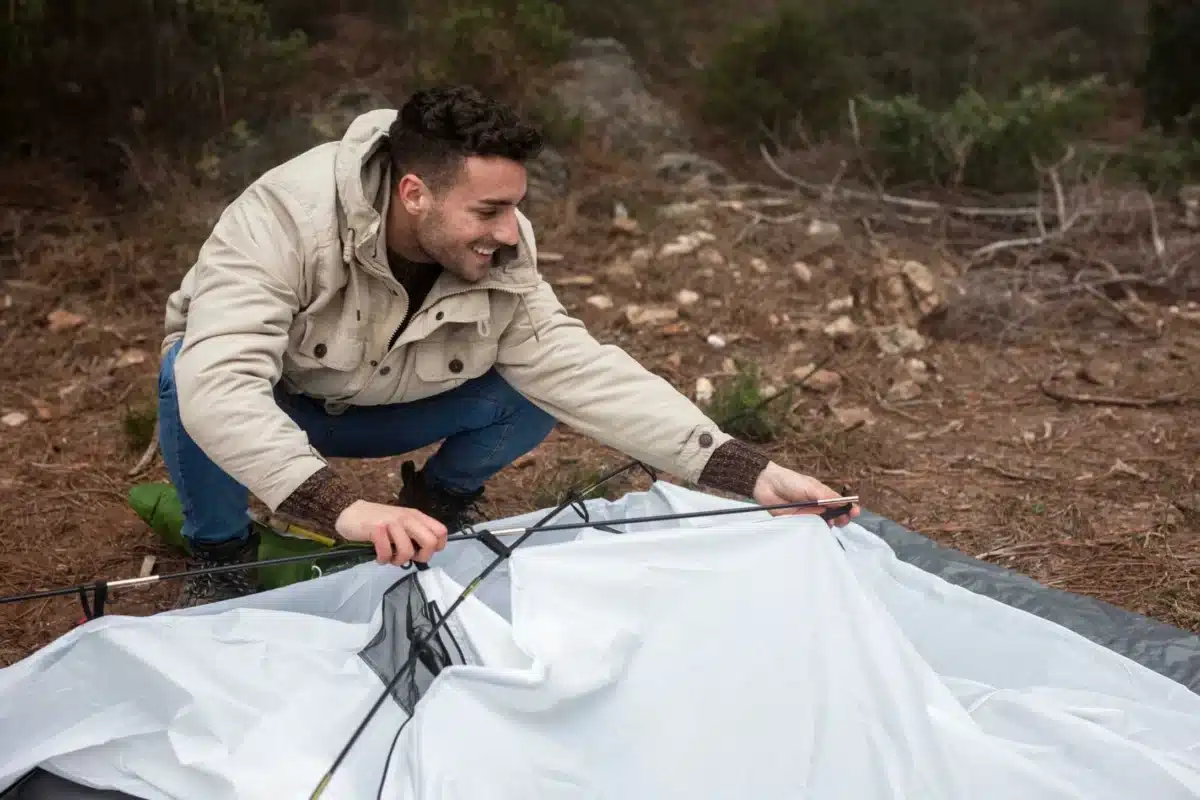
Assembling Tent Poles and Frames
- Connect each pole section carefully to avoid cracks or splinters.
- Place poles across the tent in the designated sleeves or clips.
- Cross the main poles to form the central frame.
Raising and Securing the Tent Body
- Insert pole ends into corner grommets.
- Lift the tent gradually by bending poles into shape.
- Clip the tent fabric to the pole structure for stability.
- Adjust corners so the tent floor is square and taut.
Adding Rainfly on Tent, Tent Stakes, and Guy Lines
These final steps strengthen the shelter and provide weather resistance.
Attaching the Rainfly for Weather Protection
- Drape the rainfly evenly over the tent body.
- Align doors and windows with the tent entrance.
- Fasten clips or Velcro wraps to poles.
- Tighten straps at each corner.
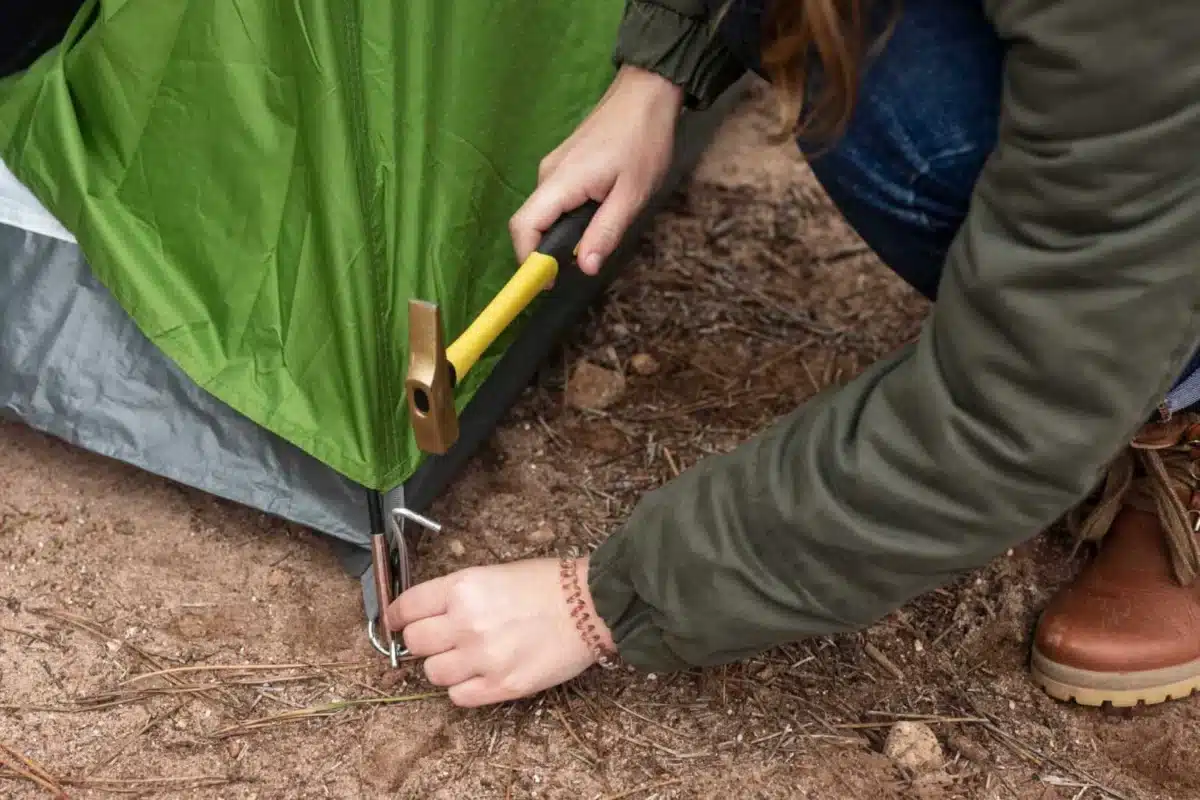
Driving Tent Stakes at the Correct Angle
- Insert stakes at a 45° angle away from the tent.
- Push stakes in by hand or tap gently with a rock/mallet.
- Ensure corners and vestibules are fully tensioned.
Setting Up Guy Lines for Wind and Rain Stability
- Attach guylines to designated loops on the rainfly.
- Angle them outward and stake firmly.
- Adjust line tensioners so the fly remains taut.
- Use additional stakes for windy or stormy conditions.

Easy Tent Set Up Options for Different Camping Styles
Some tents offer quicker setups depending on your trip type.
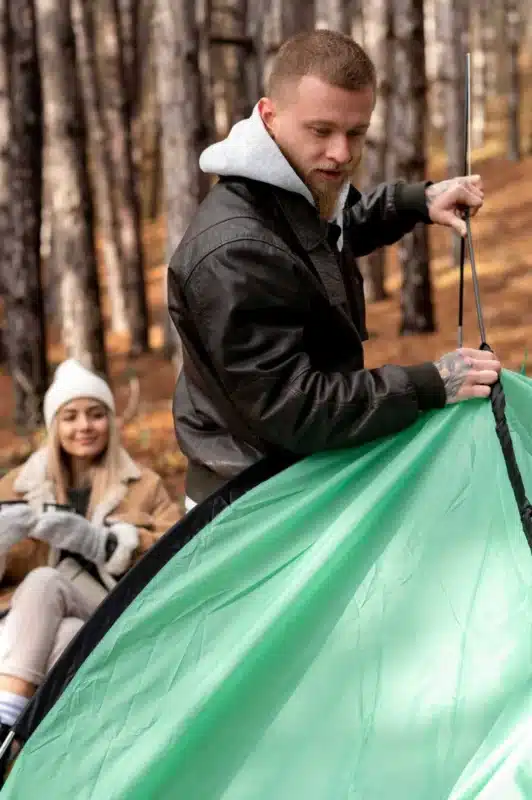
Pop Up Tent Setup for Quick Camping Trips
- Remove the tent from its bag.
- Hold upright and release straps.
- Allow the tent to spring open.
- Secure with stakes and guylines.
Canopy Tent Setup for Shade and Shelter
- Extend the canopy frame partway.
- Place the roof fabric over the frame.
- Attach at the peak and corners.
- Raise the legs evenly.
- Secure with stakes or weights.
Fast Tent Setup Tips for Beginners
- Practice before camping.
- Keep poles and stakes organized in labeled bags.
- Always stake corners before raising poles in windy weather.
- Pack extra stakes and guy lines.
Quick Tent Setup Tips for Challenging Conditions
Unexpected weather and tricky environments can make tent pitching difficult. With a few adjustments, you can set up quickly and still get a secure shelter.
Family Tent Setup for Larger Groups
- Assign roles: one person handles poles, others position corners.
- Start with main poles, then add room dividers.
- Stake vestibules for extra gear space.
Tent Setup for Rain and Wet Conditions
Knowing how to set up a tent for rain can prevent soaked sleeping bags and water pooling inside. Key strategies include:
- Pitch under a tarp or tree cover if possible.
- Keep tent body inside its bag until rainfly is up.
- Avoid setting up in depressions where water collects.
- Angle the rainfly and guylines so water sheds away from seams.
Avoiding Tent Setup Errors in the Field
- Don’t let the tarp extend beyond tent edges (causes water pooling).
- Avoid forcing poles, which can crack.
- Never skip staking—wind can collapse an unanchored tent.
Improving Comfort and Organization at the Campsite
- Add a small mat outside the entrance for shoes.
- Use gear lofts or pockets to keep essentials within reach.
- Keep zippers closed to reduce insects and moisture.
Taking Down and Packing a Tent
A careful takedown extends the lifespan of your gear.
Safe Tent Disassembly Without Damage
- Remove guylines and stakes gently.
- Release rainfly and fold separately.
- Collapse poles carefully and store them in their bag.
Packing and Storing Your Tent for Longevity
- Shake out dirt and debris before packing.
- Roll loosely instead of forcing into the bag.
- Dry completely to prevent mildew.
- Store in a cool, dry location, not compressed for long periods.
How to Set Up A Tent – FAQ
How to put up a tent step by step?
- Pick a level campsite.
- Spread the footprint.
- Lay tent body.
- Connect poles.
- Insert poles into grommets.
- Attach tent body to frame.
- Add rainfly.
- Stake all corners and guy lines.
What does Pitching a Tent mean?
It refers to the process of setting up a tent, from laying the base to securing the structure with stakes and guylines.
How to Set Up a Canopy Tent?
- Partially expand the frame.
- Place the roof fabric over it.
- Secure the top at the center peak.
- Extend the legs to full height.
- Stake or weight the corners.
How to set up a pop up tent?
- Remove the tent from its storage bag.
- Hold the tent upright and release any securing straps.
- Allow the tent to spring open naturally.
- Position the tent where you want it on the ground.
- Anchor all four corners with stakes.
- Add guylines if windy to increase stability.
How long does it take to set up a tent?
- Small backpacking tents: 5–10 minutes.
- Family tents: 15–30 minutes with two people.
- Pop up tents: under 2 minutes.
How to Set Up a Grow Tent?
- Assemble the metal frame according to the instructions.
- Attach the fabric or reflective walls around the frame.
- Install ventilation ports and secure duct openings.
- Mount lighting systems inside the tent.
- Place any trays, shelves, or growing equipment.
- Zip up the door and check all seals are tight.
How to stake a tent the right way?
- Insert each stake at a 45° angle, pointing away from the tent.
- Push stakes in by hand first, then tap gently with a mallet or rock.
- Ensure each corner loop and guyline is fully tensioned.
- Keep guylines pulled outward, not downward, for maximum stability.
- Check stakes periodically—especially in rain or shifting soil.